

Connect Cursor Desktop to MCP for Confluence Data Center using OAuth or your own Confluence personal access token (PAT). This guide uses the local desktop Agent, which can reach Confluence on your network.
Use confluence as the connection name in both OAuth and PAT setup. Check existing entries before installing; do not overwrite a connection to another site. For an older alias, follow connection naming and migration. Existing screenshots may show an older local alias.
Connect using OAuth
Ask your administrator for the Cursor Desktop setup link or configuration from OAuth client settings. Open the link in Cursor Desktop and review the connection, or merge the supplied entry into ~/.cursor/mcp.json without replacing existing servers. Sign in to Confluence and approve access with your own account. Do not add a PAT header to this OAuth configuration.
Your administrator must also configure OAuth discovery mappings at the Confluence proxy. If login reports a discovery or OpenID configuration error, ask them to check those mappings, then reload this MCP connection and try again.
Check that tools load, then ask Agent to call confluence_get_current_user and confirm that the account is yours. The desktop callback is http://localhost:8787/callback. See MCP client compatibility for verification status. The following steps describe the PAT alternative.
Before you start
Have Cursor installed and signed in, MCP for Confluence Data Center installed on your Confluence site, and your PAT ready. Connect your MCP client explains how to create the PAT and lists the connection settings.
1. Add the connection
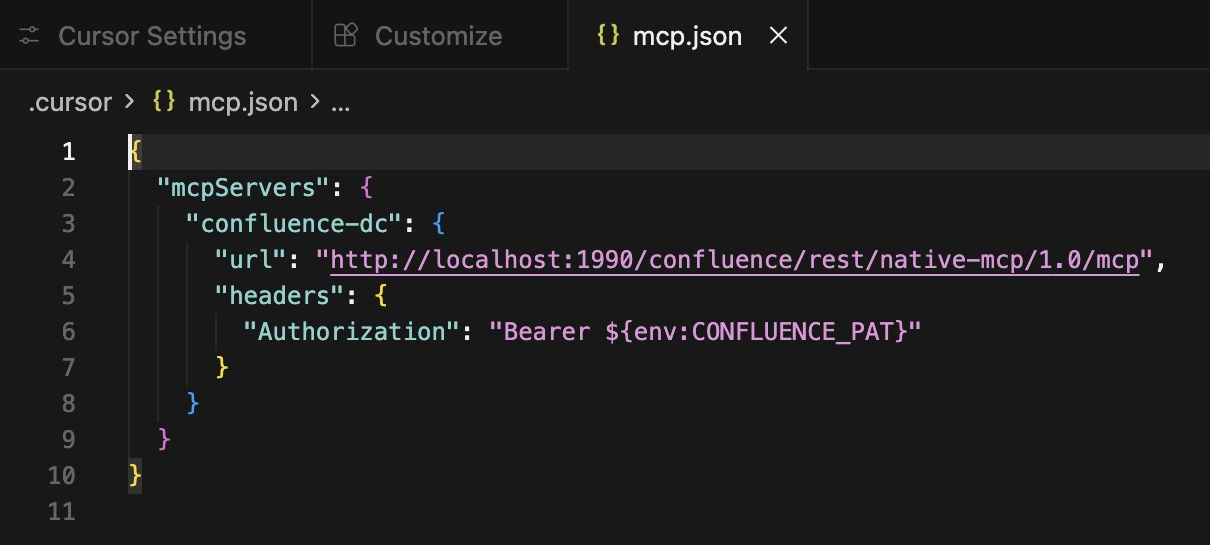
In the folder you want to use with Cursor, create .cursor/mcp.json with the following content. If the file already exists, merge confluence into its existing mcpServers object.
{
  "mcpServers": {
    "confluence": {
      "url": "https://confluence.example.com/confluence/rest/native-mcp/1.0/mcp",
      "headers": {
        "Authorization": "Bearer ${env:CONFLUENCE_PAT}"
      }
    }
  }
}
Replace https://confluence.example.com/confluence with your Confluence base address, including its context path if it has one. Keep /rest/native-mcp/1.0/mcp at the end.
Leave ${env:CONFLUENCE_PAT} exactly as written. It tells Cursor to read your PAT from its environment. Your PAT does not go into this file. The Bearer prefix is already included.
2. Enter your PAT without showing or saving it
Fully quit Cursor first, so the next launch receives the environment variable. Open a terminal in your project folder, use the commands for your shell, and paste only your PAT when prompted. Input is hidden. The commands themselves contain no token, so the token is absent from shell history.
macOS with zsh
read -rs 'CONFLUENCE_PAT?Confluence PAT: '
printf '\n'
export CONFLUENCE_PAT
cursor .
unset CONFLUENCE_PAT
Bash on macOS or Linux
read -r -s -p "Confluence PAT: " CONFLUENCE_PAT
printf '\n'
export CONFLUENCE_PAT
cursor .
unset CONFLUENCE_PAT
Windows with PowerShell
$token = Read-Host "Confluence PAT" -AsSecureString
$env:CONFLUENCE_PAT = [System.Net.NetworkCredential]::new("", $token).Password
cursor .
Remove-Item Env:\CONFLUENCE_PAT
$token.Dispose()
The cursor command must be available in your terminal. On macOS, use Cursor’s Command Palette to install the cursor shell command if needed.
The PAT stays in the running Cursor process environment until Cursor exits; it is not stored in a credential vault by this method. Fully quit Cursor when finished, and repeat the hidden prompt for a later session. Keep the token out of chat messages, source files and screenshots. Use HTTPS for your own Confluence connection.
3. Enable the server
-
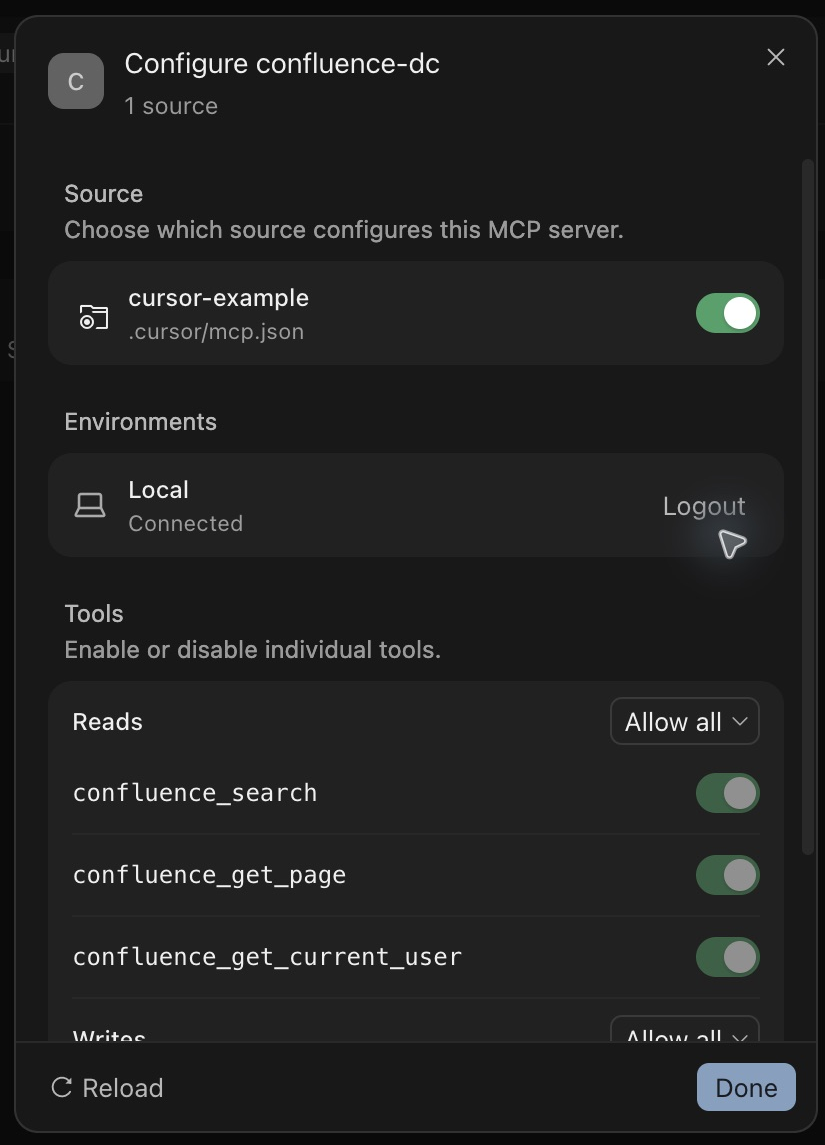
Open Cursor Settings → Customize → MCPs.
-
Open confluence and enable the source for your project.
-
Check that the Local environment says Connected and the Confluence tools are listed.
-
Start a new Agent chat in this folder. Review each requested MCP tool call and approve it with Run.
Ask Agent: Which Confluence account am I connected as? Check using confluence_get_current_user. Confirm the returned account is yours.
For search, summary and saving examples, see Example prompts and responses.
If the connection fails
-
No tools: enable the project source in Customize → MCPs, then start a new Agent chat.
-
Authentication fails: fully quit Cursor and relaunch it from the terminal after entering a valid PAT. Opening it from the Dock or Start menu may not give it the environment variable. Check that you entered only the token, without an extra Bearer prefix.
-
Endpoint not found: check the Confluence base address and context path.
This configuration follows Cursor’s MCP documentation, including environment-variable interpolation in HTTP headers. See Troubleshooting for further connection help.